You're on this page because your signed up on Mixo Ads. We're excited to work with you! Please follow the onboarding steps below to help Mixo Ads deliver what it is best at.
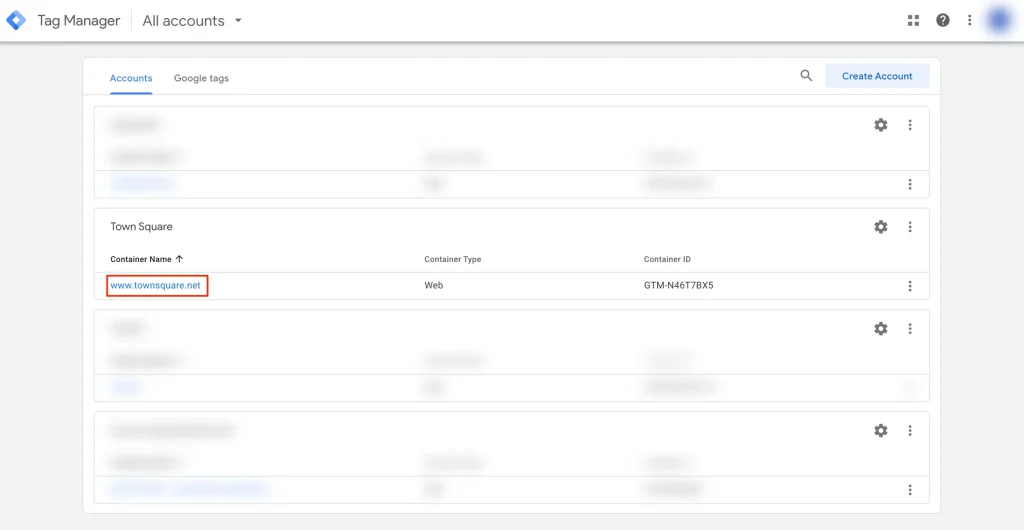
Google Tag Manager Access
To setup conversion tracking for all of our channel networks.
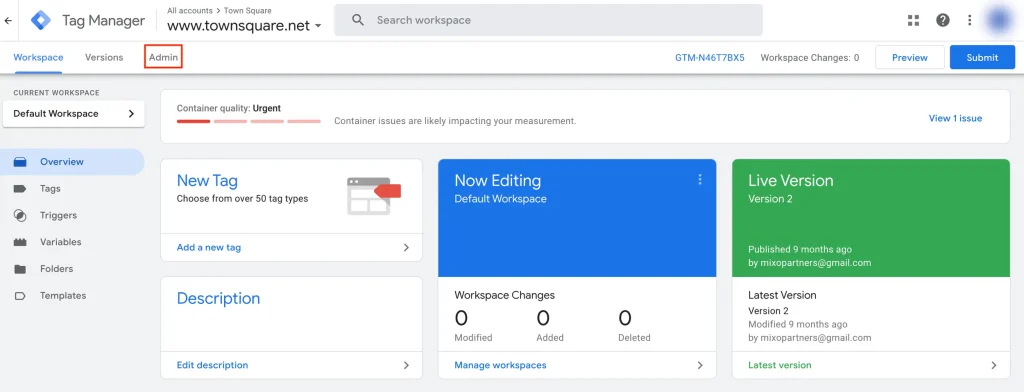
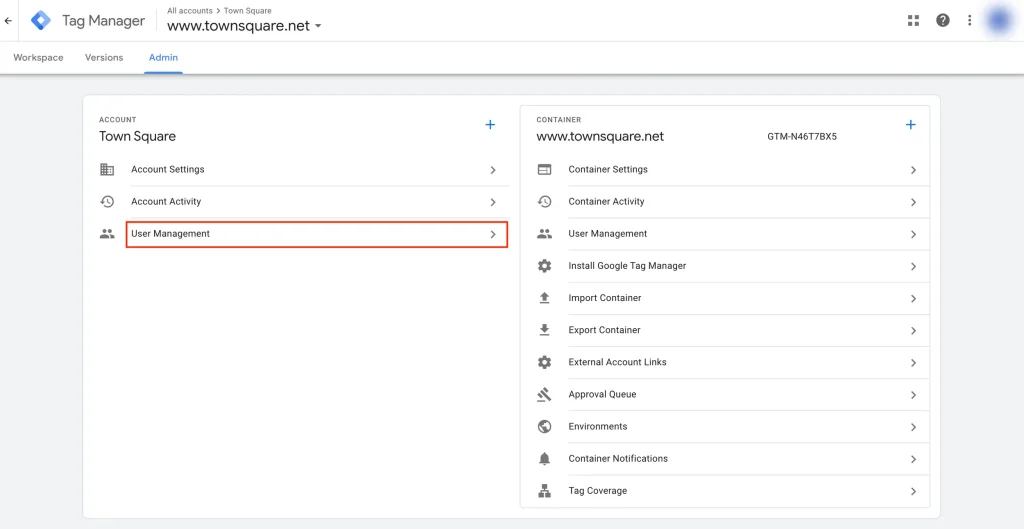
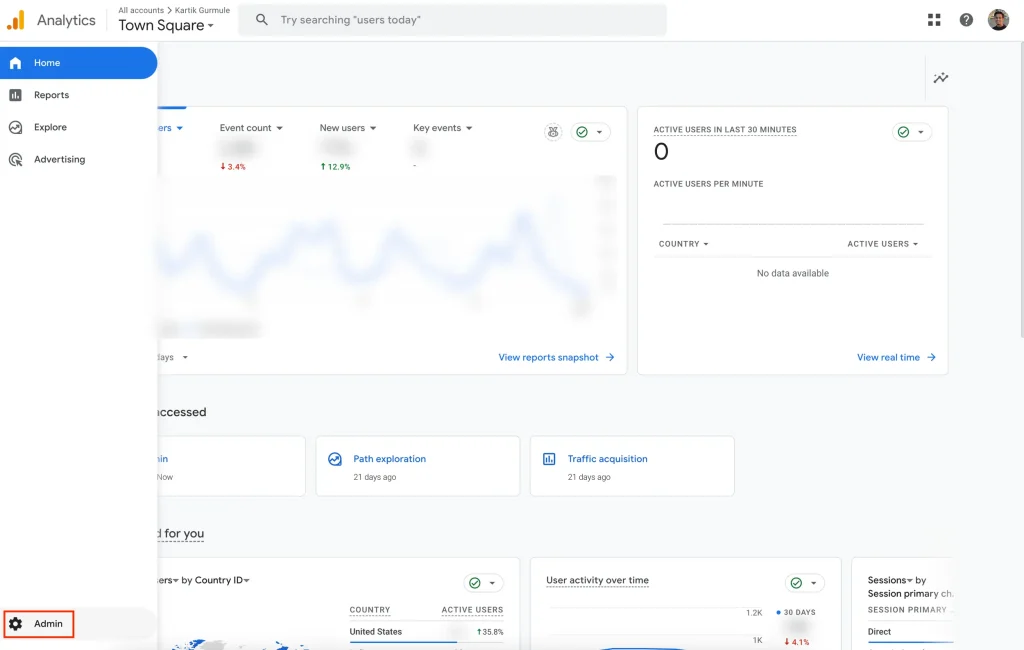
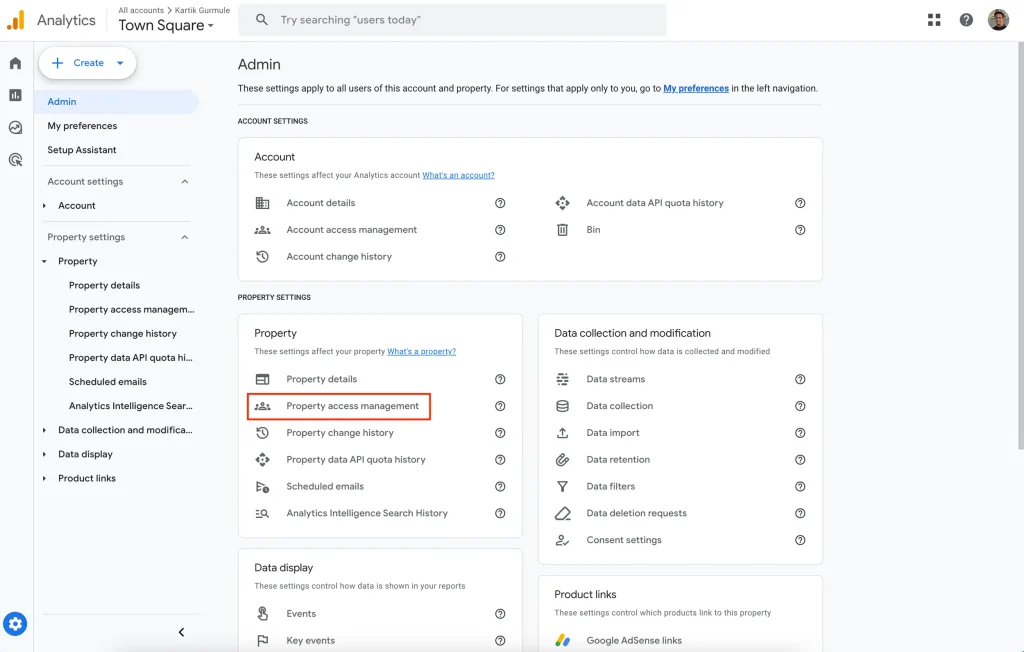
Once you’re in the container, select Admin → User Management. Wait a few seconds for the pop-up.
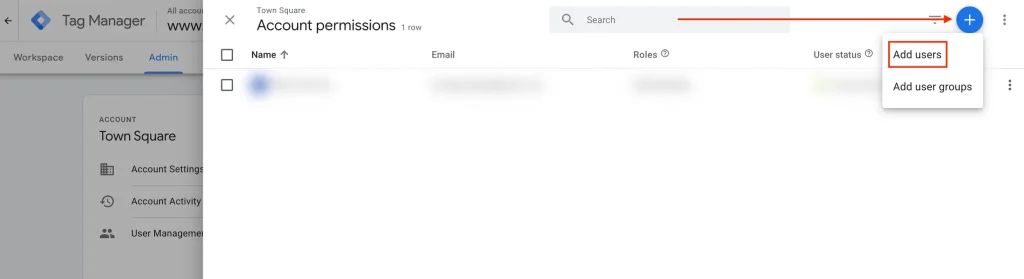
Once the “Account permissions” pop-up, click on the + icon on top-right and select “Add Users“
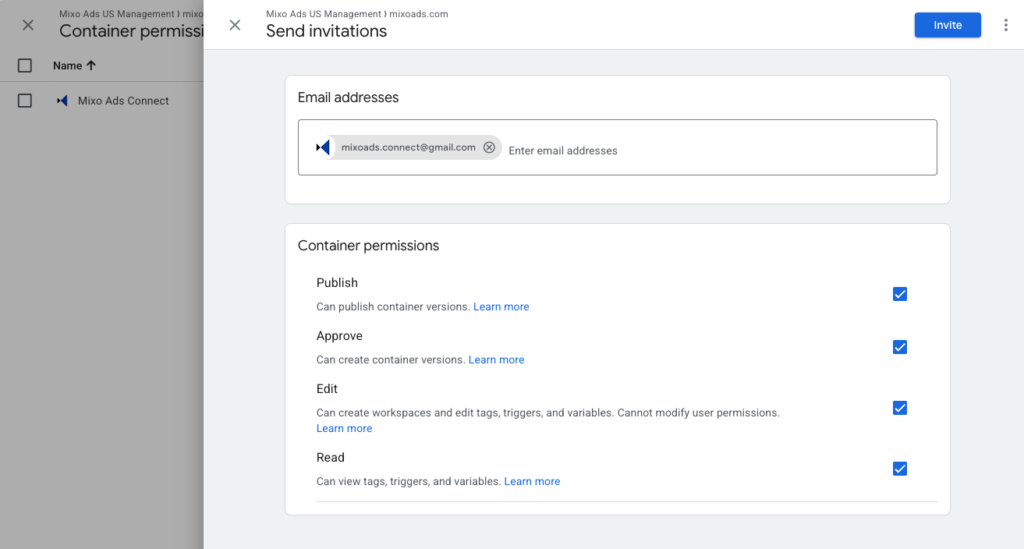
On the “Send Invitations” pop-up under “Email addresses“, type in [email protected] → Enter.
Check for “Read“, “Edit“, “Approve“, and “Publish“.
Click on “Invitation” button on top-right
Google My Business Profiles
To use location assets in Google Ads.
Head over to business.google.com/locations and sign in using the Google Account where you’re listed as the “Primary Owner” for all your GMB Listings.
Click the “Create group” button.
Name the group “MixoAds_[YourBrandName]“
Select all the locations, including the unverified ones. Once they’re verified, we can start using them.
You’ll see a message like “x businesses selected” — click the “Actions” dropdown, then choose “Transfer business.”
From the left-menu, open the “MixoAds” group.
Navigate to “Group Settings,” -> “Manage Users.” Select “Invite New User,” and enter “[email protected]” with the role set to “Manager.” Finally, click “Invite.”
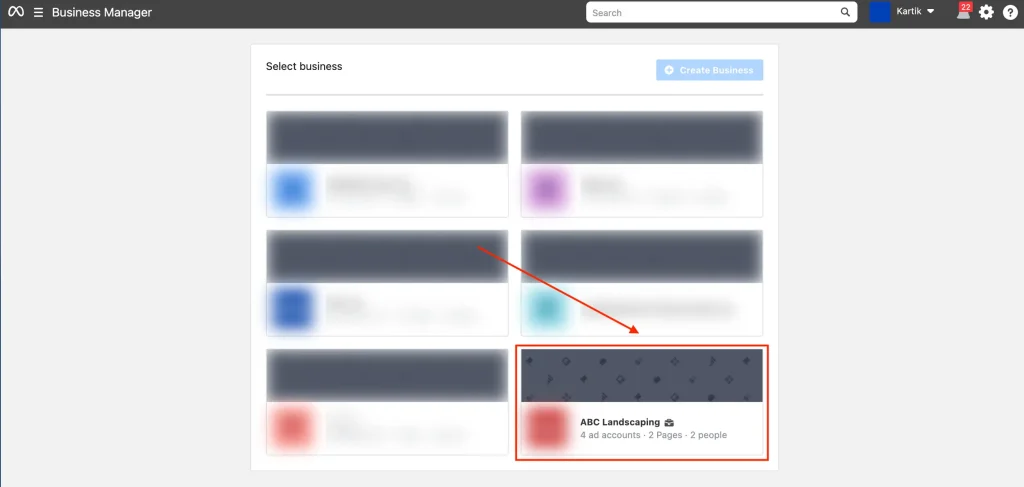
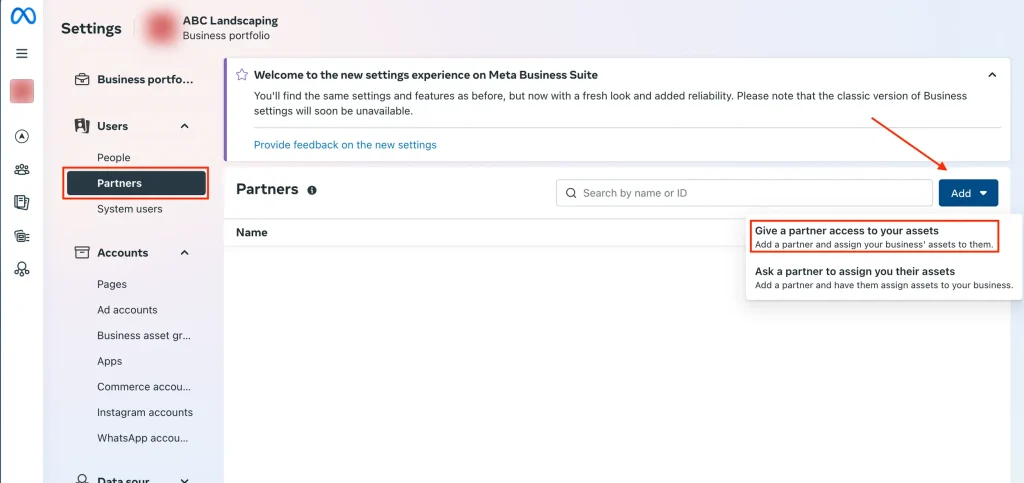
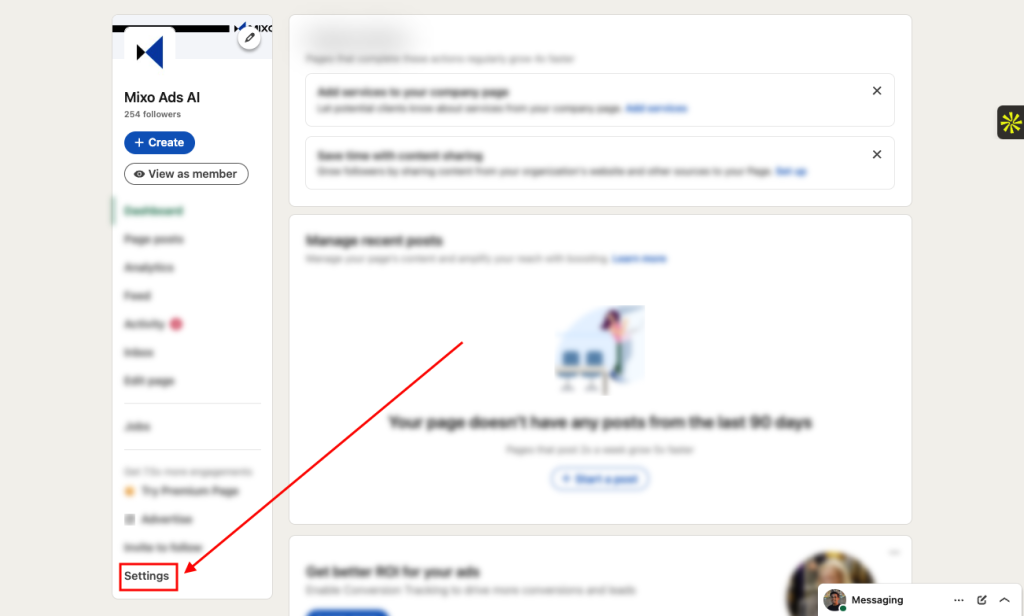
On the Settings Page, select Partners from left side-bar.
Click on “Add” button
Click on “Give a partner access to your assets“.
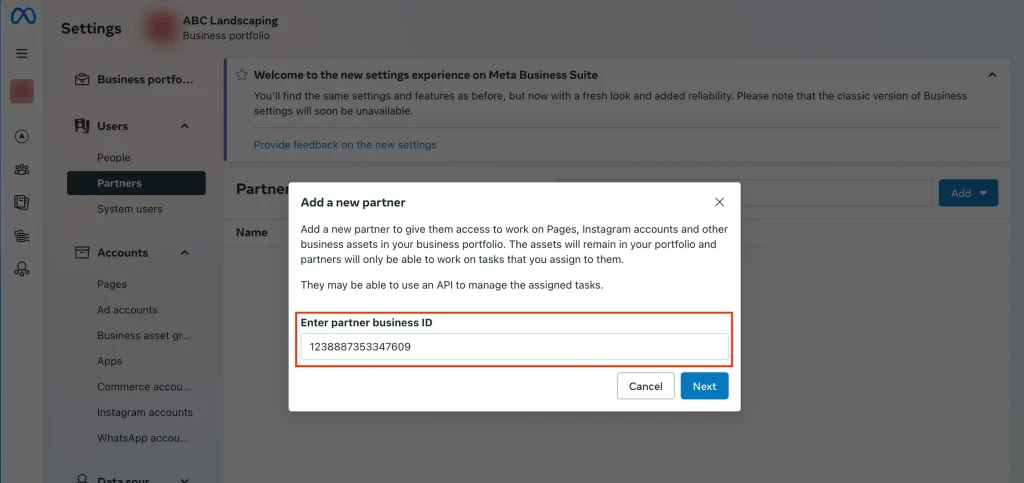
In the “Add a new partner” pop-up, add Business ID: 1238887353347609 → Click “Next“
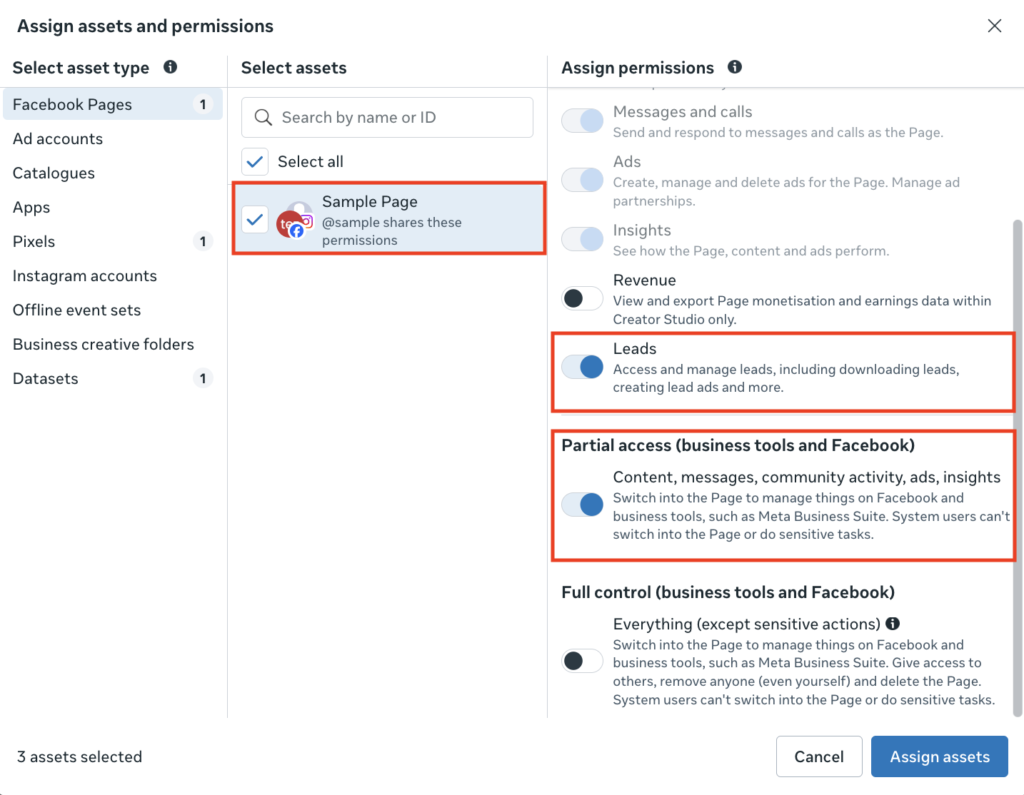
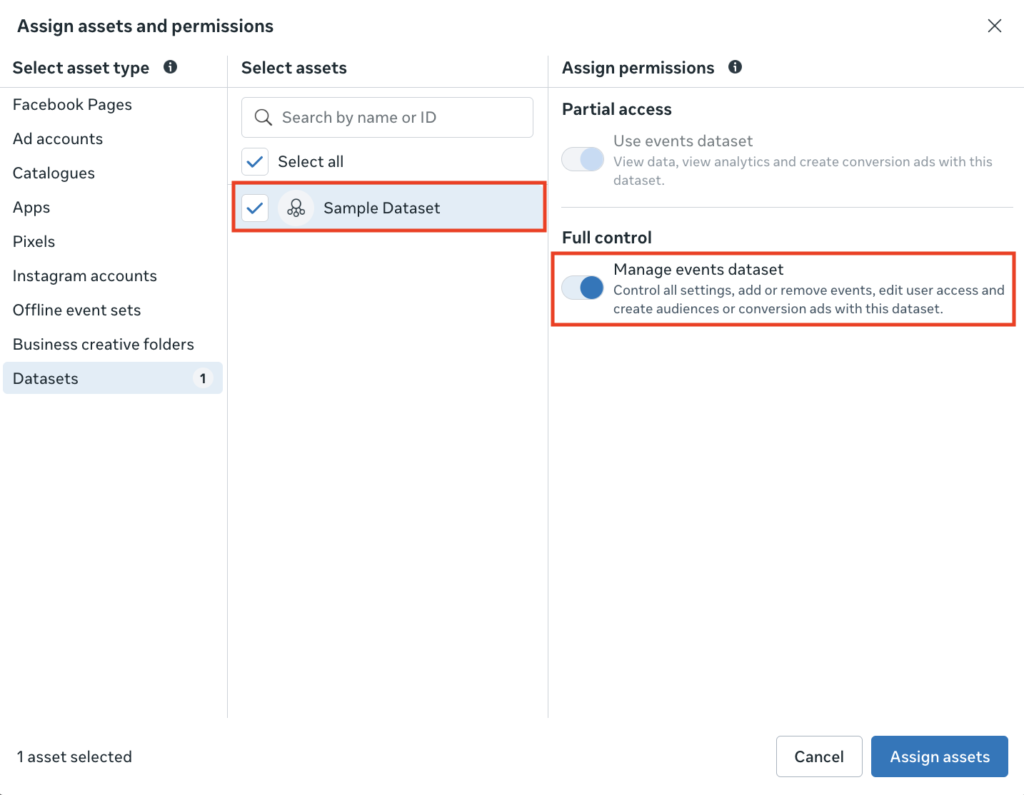
In the “Assign assets and permissions” pop-up
From Pages, select your Brand’s Instagram and Facebook page. Sometimes it’s clubbed together as shown below. Once selected, toggle ON for “Leads” and under Partial Access — “Content, messages, community activities, ads, insights“.
From Datasets, select the dataset linked to your website. Once selected, toggle ON for “Manage events dataset“.
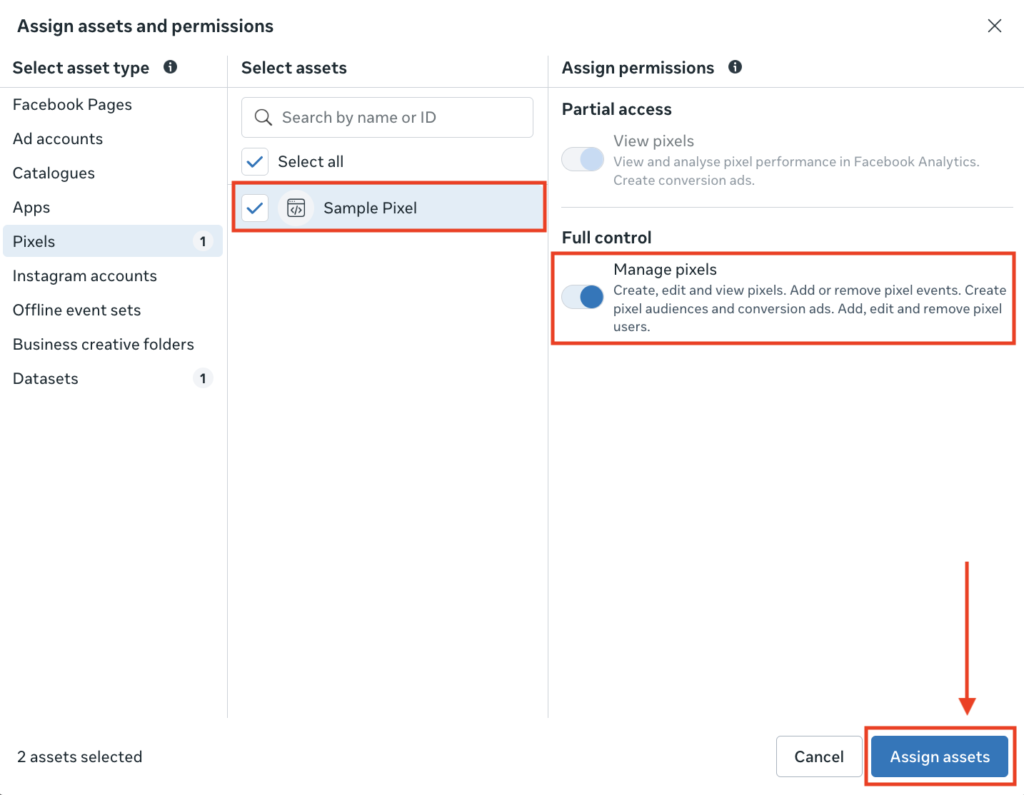
From Pixels, select the pixel linked to your dataset. Once selected, toggle ON for “Manage pixels“.
Click on “Assign Assets“
TikTok Access
To distribute, track and manage ads on TikTok
Only Business Accounts are allowed to be shared. If the Page is currently as Individual, please go to Profile > Settings & privacy > Account > Switch to Business Account
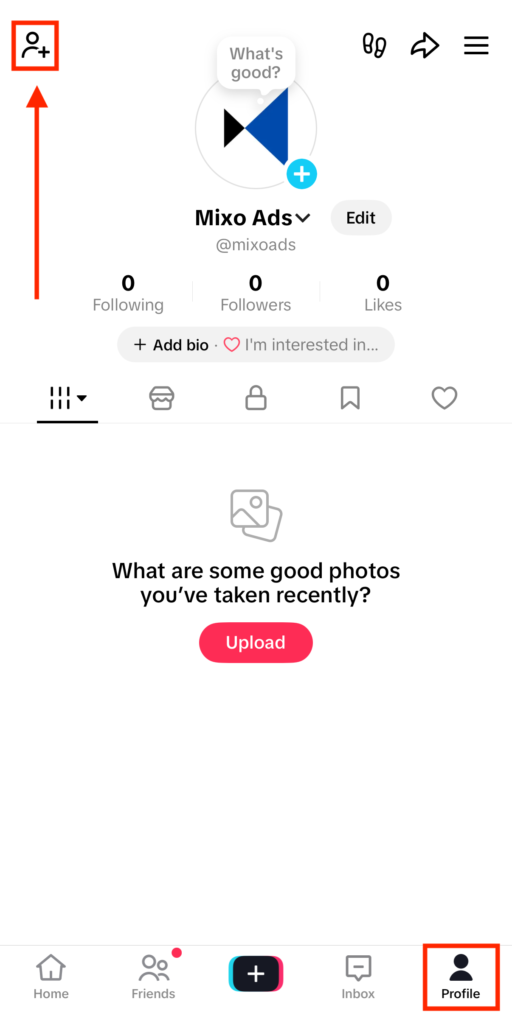
Open TikTok App with the Account to share logged in.
Click on “Profile” on bottom bar and then Add Friend Icon on top-left of the screen.
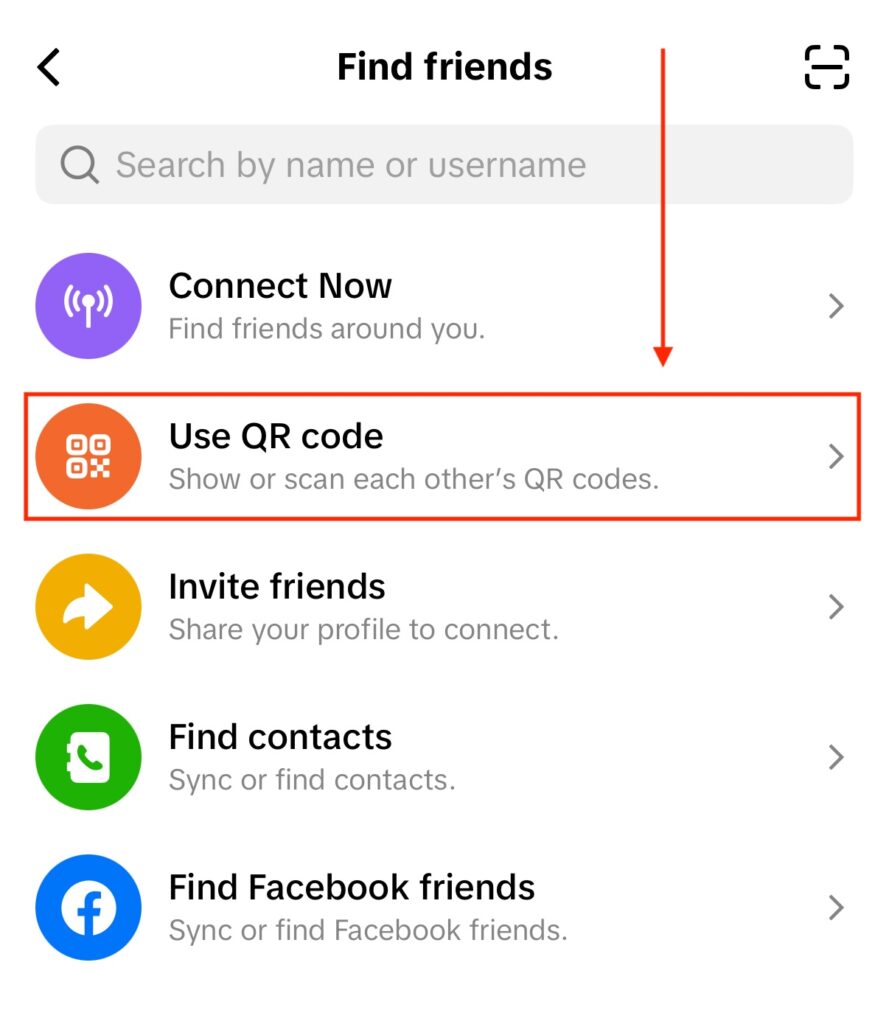
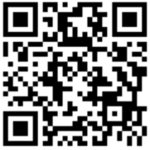
Click on “Use QR code” button
Scan our QR Code below
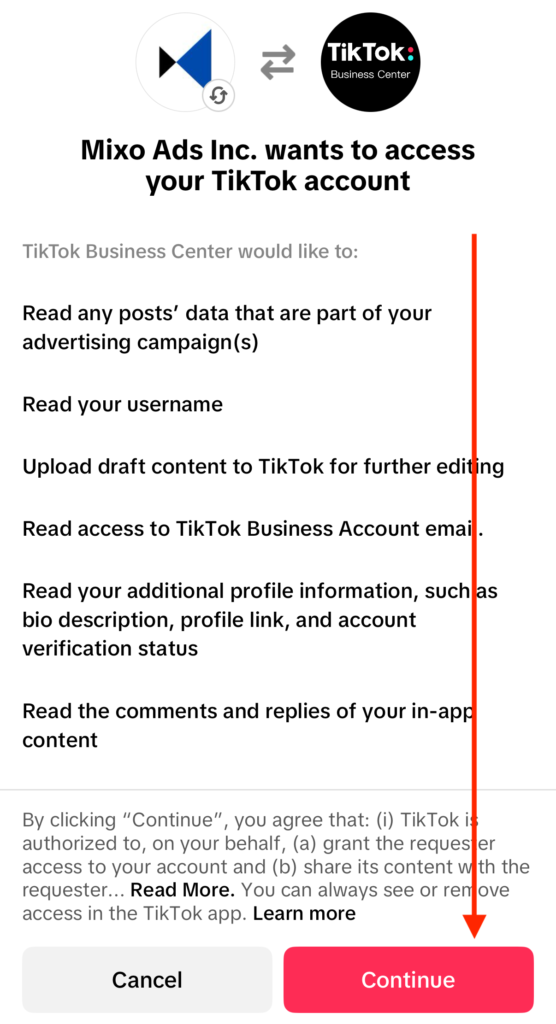
On successful scan, it’ll show the below page to confirm access to Mixo Ads Inc. → Click on “Continue“
If it shows an invalid QR or error; please email [email protected] to get an updated QR code.
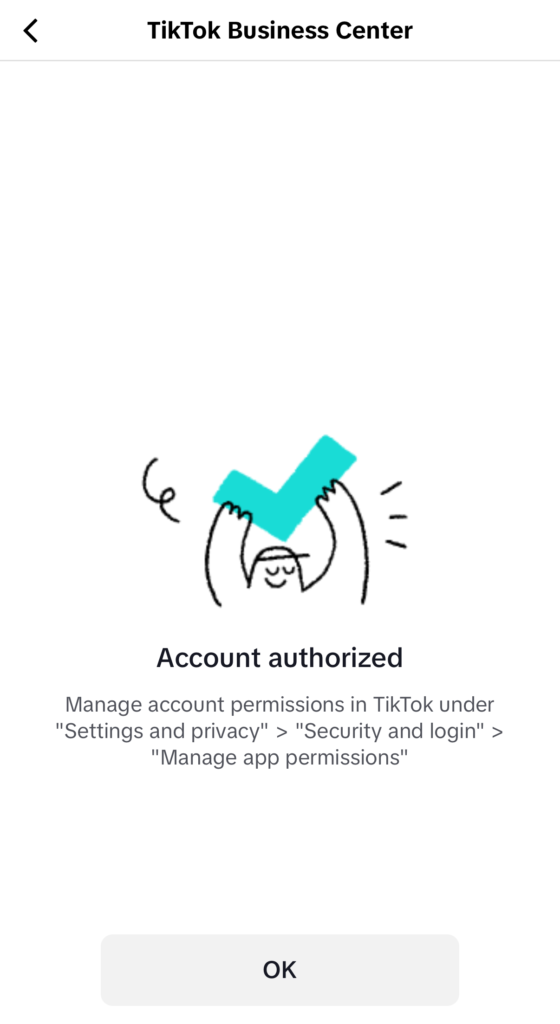
As a final confirmation, you’ll see this page which confirms that we have received access to the TikTok Account to serve ads.
Linkedin Page Access
To distribute, track and manage ads on LinkedIn
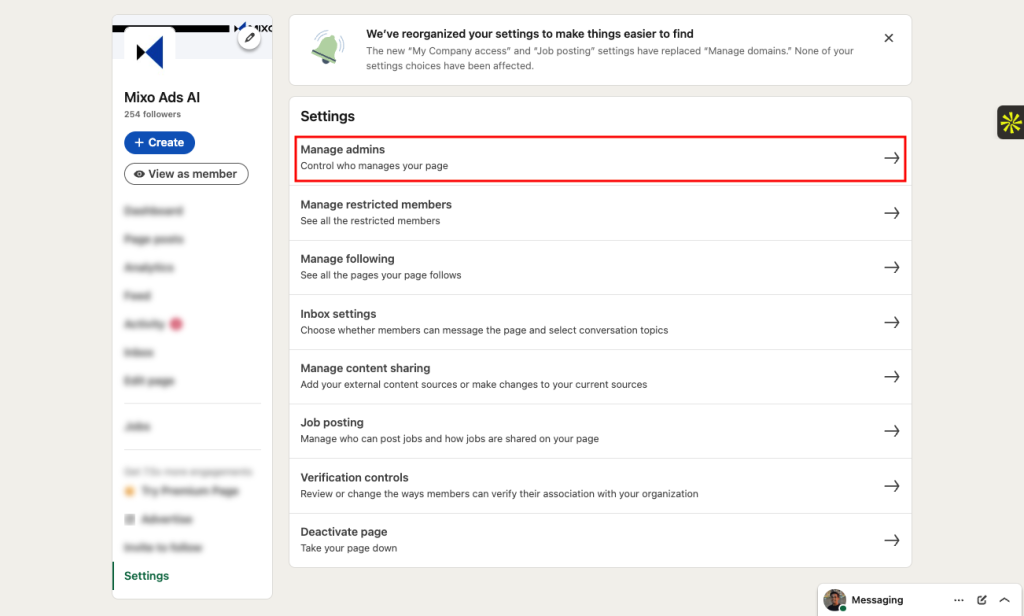
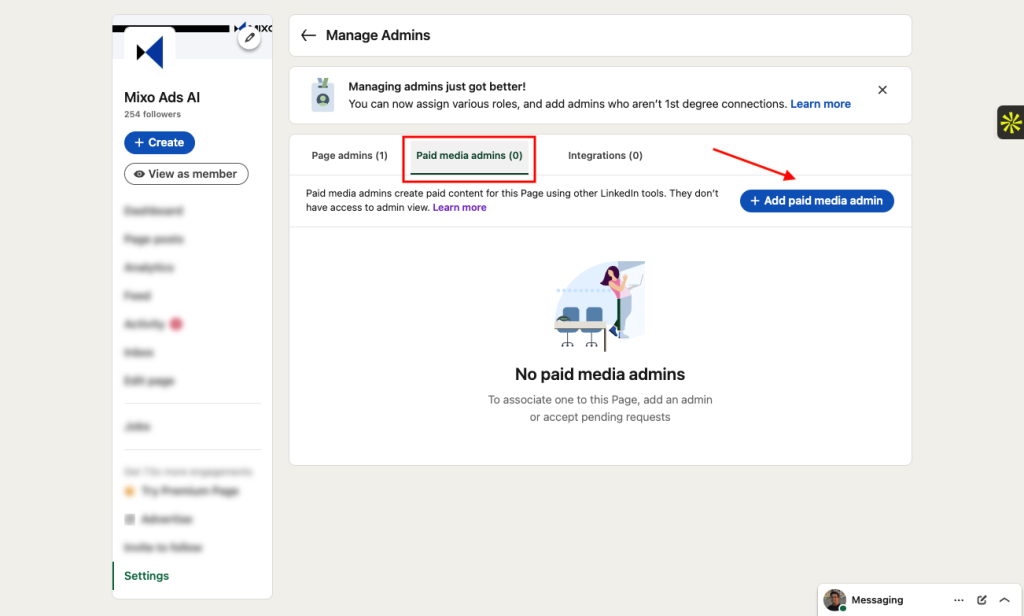
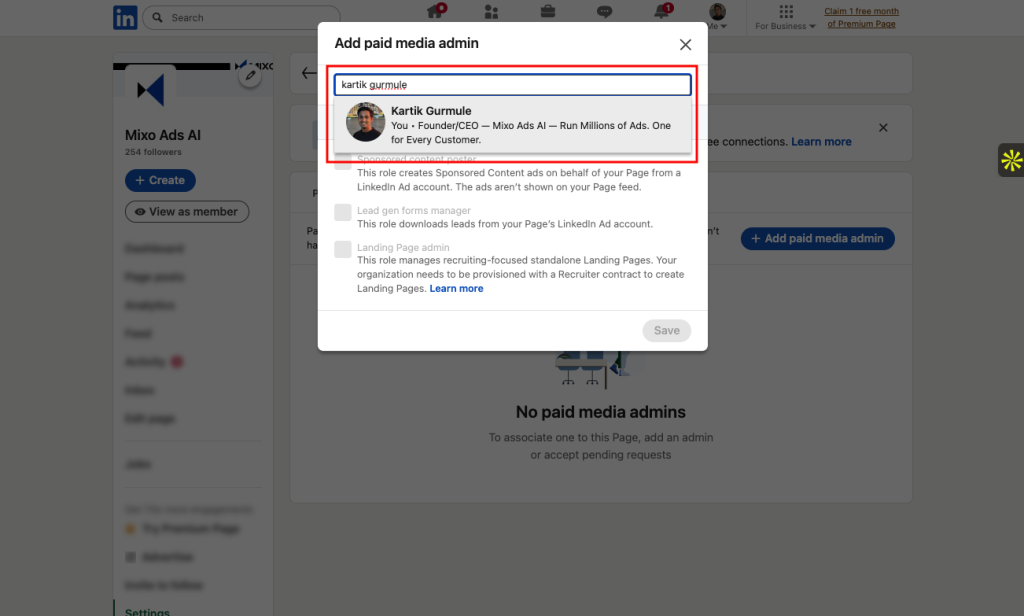
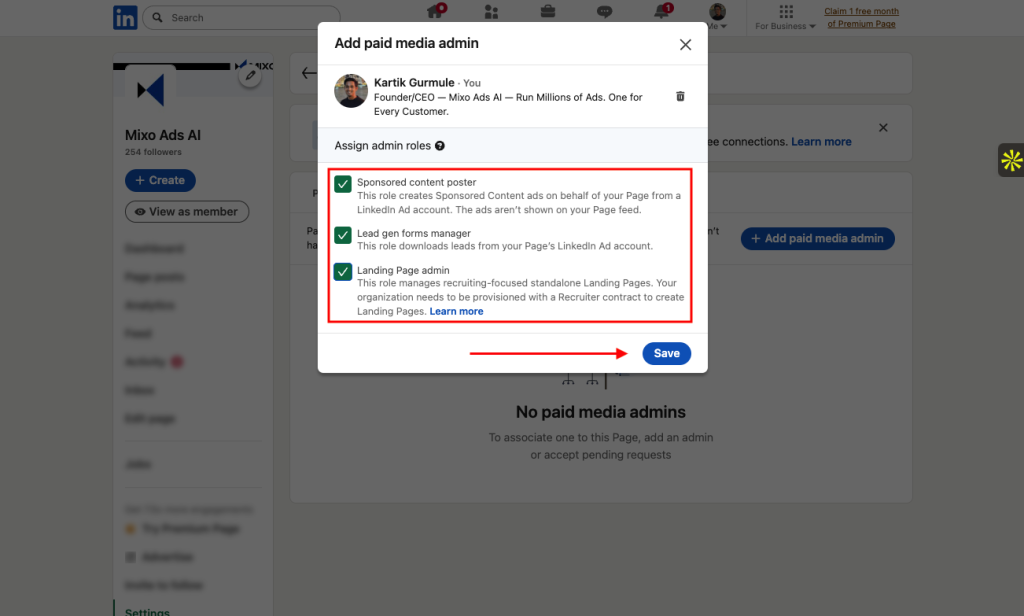
As an Admin of your company’s page, go to your Linkedin Page and do the following steps.
Click “Settings” → “Channel” → “Advanced settings” → “Link account” button next to “Google Ads account linking“.
Link name: “MX“
Google Ads Customer ID:
Brands from US, Canada, UK, Australia, New Zealand: 151-318-9023
Brands from India: 194-052-6380
Keep all checkboxes checked → “Done” → “Save“
Thank you for taking out the time to onboard your brand on Mixo Ads. Get ready to experience the future of advertising with Mixo Ads — equivalent to thousands of marketers creating & optimizing ads around the clock.